As you all may know, RCS (Regulatory Configuration Service) is being deprecated as the Electronic Reporting objects repository. No new provisioning of RCS environments from 10.0.39, and Microsoft will fully shut down it by the 1st of August of 2024. The new repository is nothing more and nothing less than the good Dataverse, so:
- how do we migrate our ERs? keep reading to have the full picture of the process.
- how do we manage new changes moving forward? Here you are the new solution for uploading to the repo the new changes done to our custom ERs
1. First, get all your custom ERs in a folder.
But, before killing yourself, there’s a way to export all the ERs at once, you won’t need to do it manually for all of them. Our good old RCS environment allow us to do it using the Configurations packages (that’s why I recommend to do this before 1st of August, so you can use the Configurations Packages functionality within RCS):
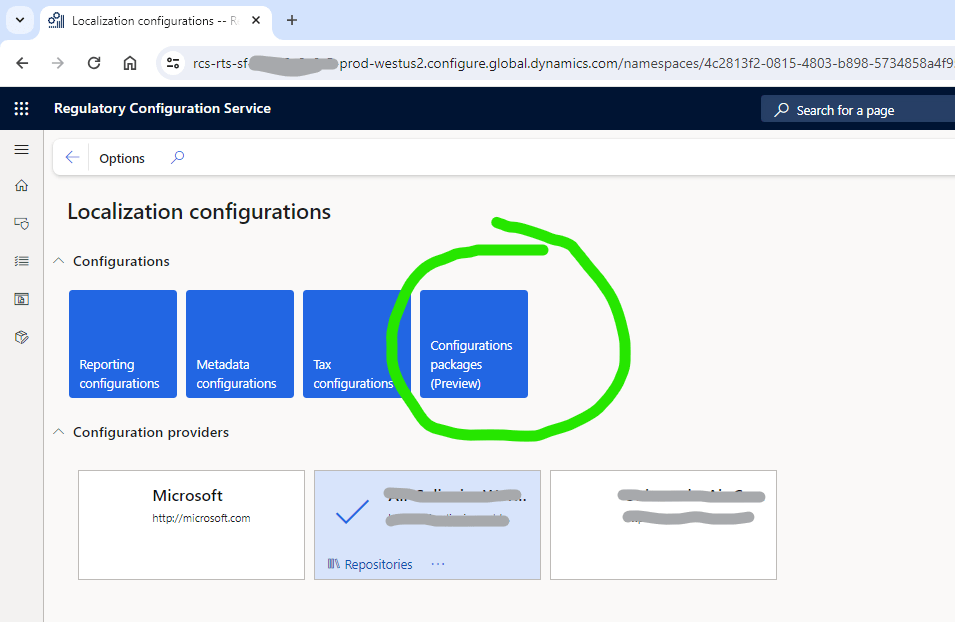
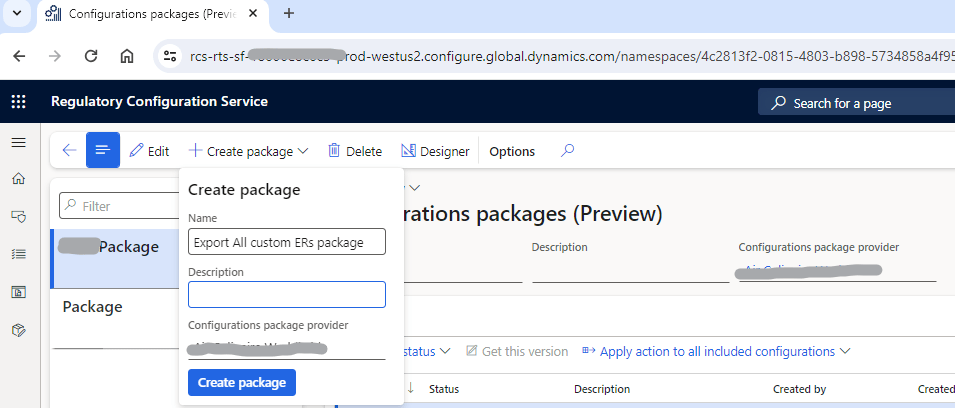
Create a new configuration package:
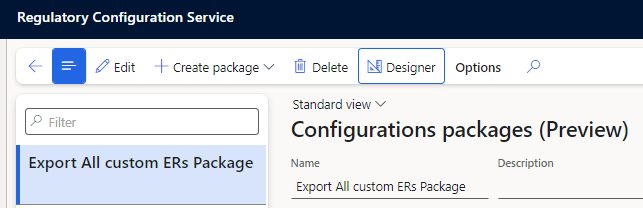
Click on designer:
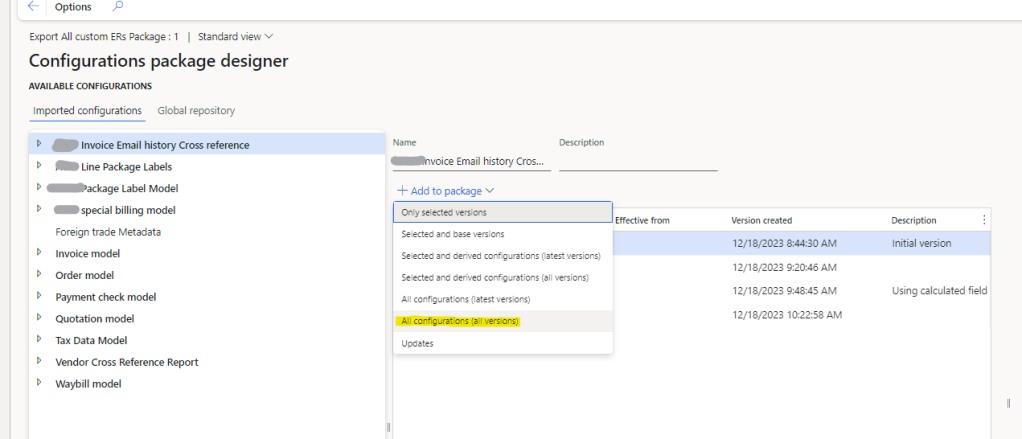
There you can Add to package, and either select or add everything. But one important thing to take into account is that we must update to Dataverse only the custom ERs. Another thing to take into account is whether you care about the history of versions, or you just need the last version, remember that it is probable that in your UAT and Prod environment you are going to have already the history anyway… but it is up to you… I personally got everything, including old versions, but I don’t think I will ever need them.
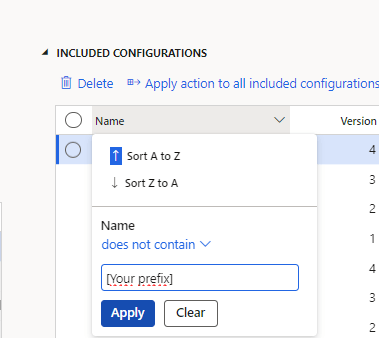
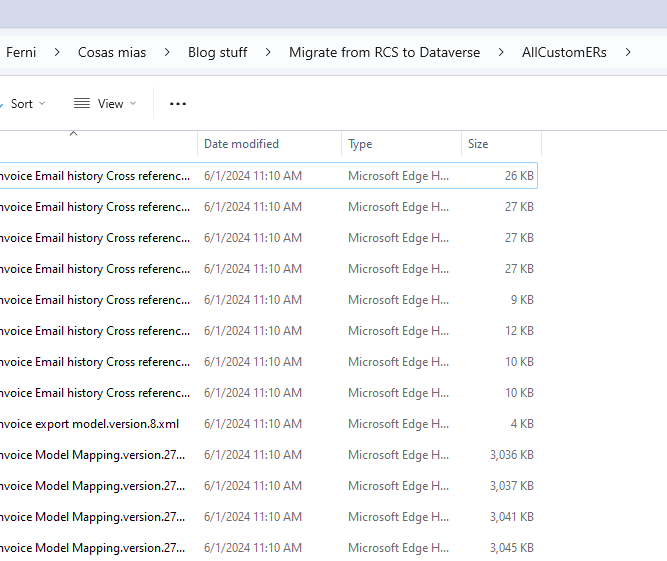
In my case in particular, and since we put the customer prefix in any custom ER, what I did is just add everything and then delete the ones that didn’t have the prefix on it, like this:
It will include everything:
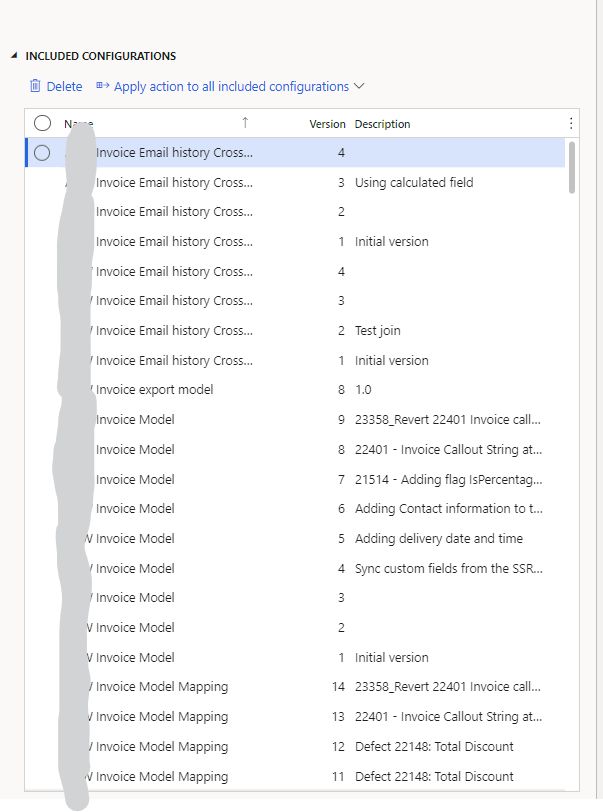
And there you filter and delete the OOB ones included:
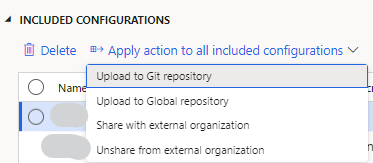
Now, it’s time to upload them to git (you may need to configure your git repo if you haven’t already):
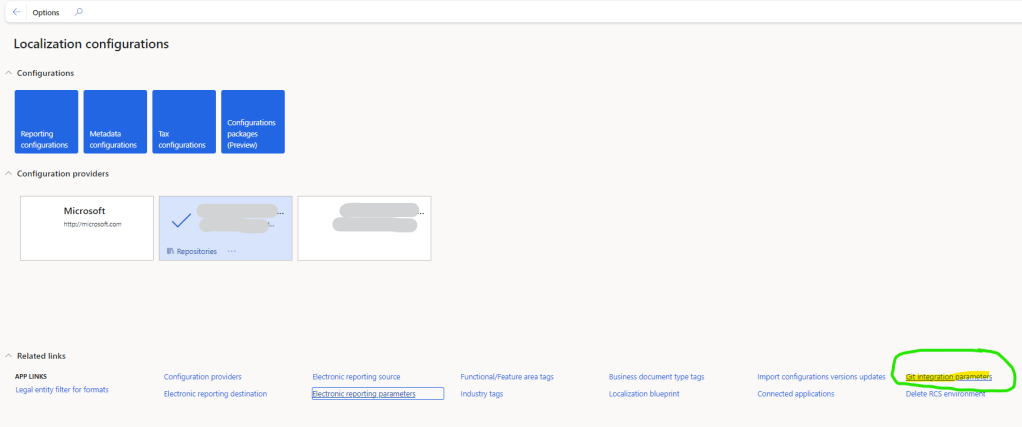
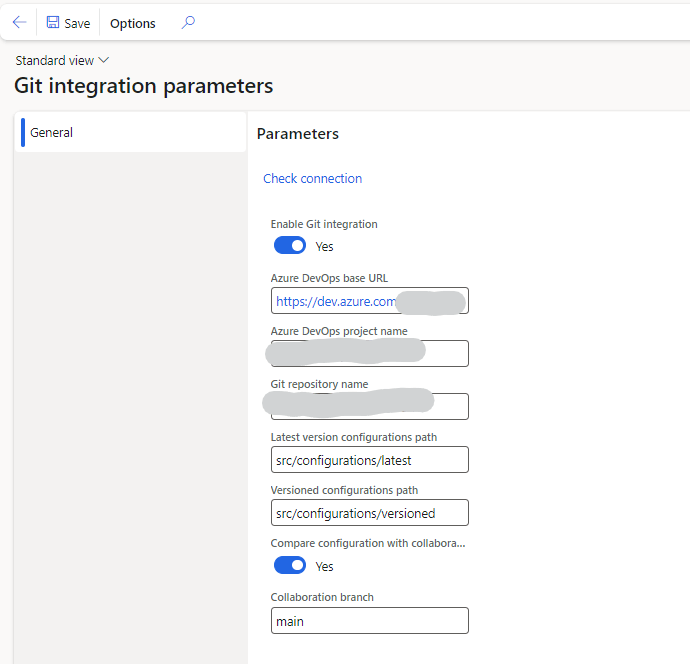
If you haven’t configured your Git connection yet, go to the Git integration parameters in RCS:
And you connect it to your Azure DevOps repository:
Once you have your Git integration ready to go, you just export to Git, creating a new branch there (the field branch allow you to put spaces and special chars, but don’t do it):
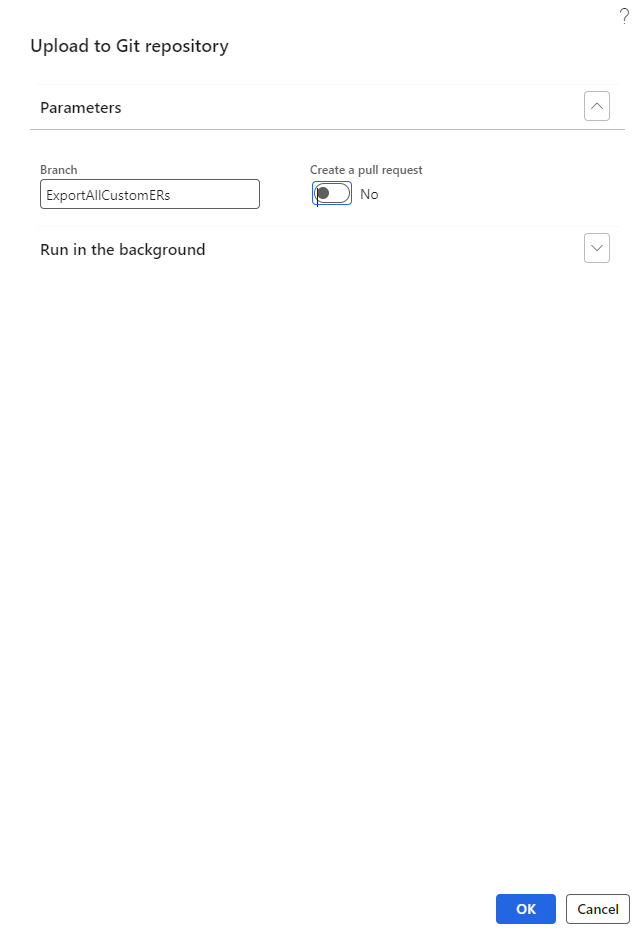
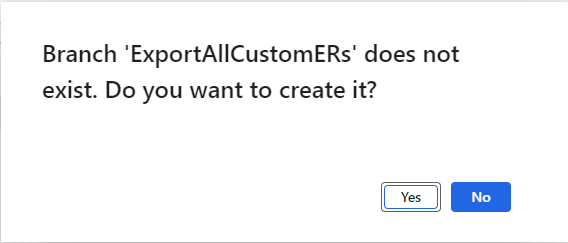
If you type a name of a branch that does not exist, it will create it.
This will create a branch in Git with all the exported versions. We now go there, and download them.
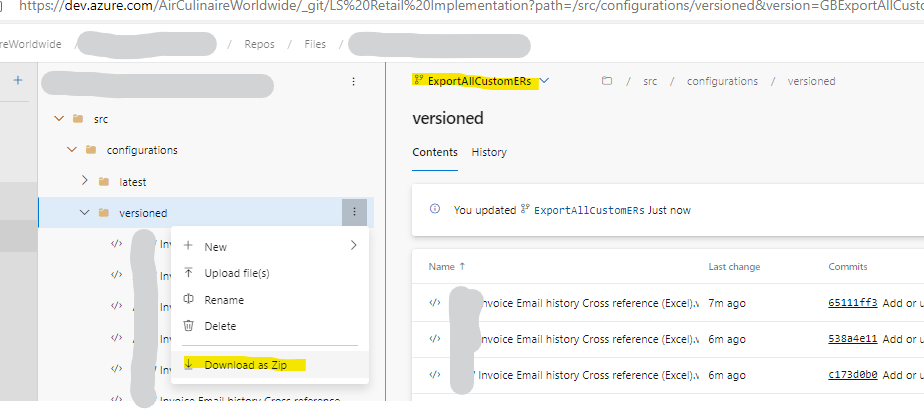
then we just extract the files into a new folder:
2. Upload them to Dataverse.
From here I just followed the following link Upload ER configurations and Globalization features as a Dataverse solution – Finance | Dynamics 365 | Microsoft Learn. But I will provide some help here just in case it is needed. As a summary of the steps, you will need to:
- Install PowerShell 7 – link
- Install VS Code (if you don’t have it already)
- Install the Power Platform tools Visual Studio Code Extension – link
- Create a Dataverse solution and export it.
- Run the script Generate-GlobalizationDataverseSolution.ps1
- Pack the solution from VS code
- Import the solution into Dataverse, either manually or from VS code (recommended)
The steps are well explained in the documentation, at least I didn’t find any issue following them, but here you are the steps I took in a little bit more of detail.
2.1. Create a connection to your Dataverse environment
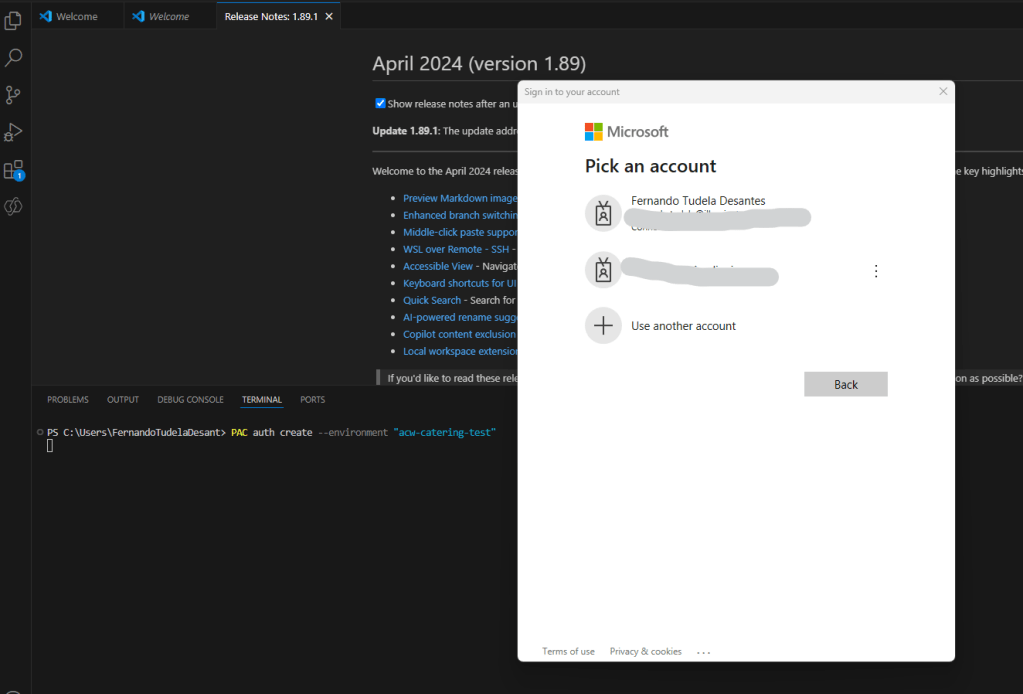
Once I got the folder with the ERs, from previous section, I installed Powershell, VS code and the Power platform CLI. Then, you have to create a an Authentication profile, opening a terminal in VS Code, and running:
Pac auth create --environment "Dataverse environment name"
This will prompt you to authenticate, in order to create the connection to the Dataverse environment. Of course, you will have to have access to the Dataverse environment.
ok, We are in:


2.2. Create and download a new Dataverse solution
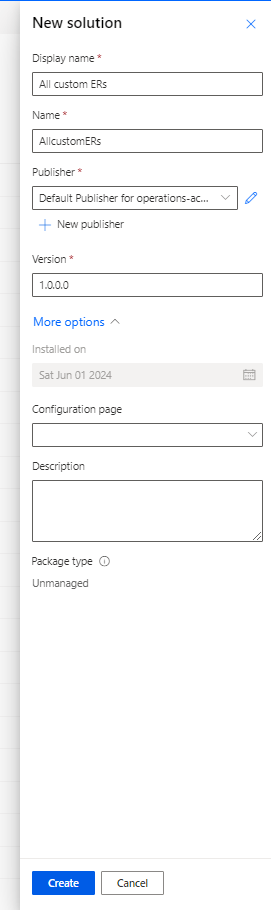
Let’s now create an empty solution in that Dataverse environment and export it. We go to our Dataverse environment and create the solution:
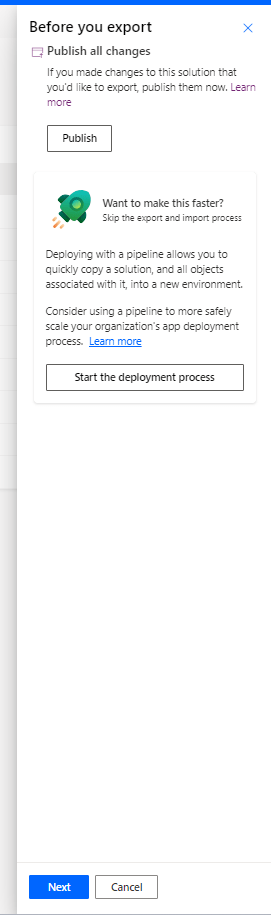
Now we just simply export it.

Then, we download the solution:

and then we extract the new solution by using the pac solution unpack (make sure there’s no white spaces in the folders of your paths, it made mi loose some time to realize that was making the command to fail.)
I put my extracted solution in:

And then run:
pac solution unpack --zipfile C:\Ferni\CosasMias\BlogStuff\MigrateFromRCSToDataverse\AllcustomERs_1_0_0_1.zip --folder C:\Ferni\CosasMias\BlogStuff\MigrateFromRCSToDataverse\AllcustomERs_1_0_0_1

The unpack command is going to create a new folder, All customeERs_1_0_0_1 in this case.
2.3 Include our ERs into the extracted Dataverse solution Folder
Next step is to include our previously downloaded ERs into the empty unzipped Dataverse solution folder, using the Power Shell script Generate-GlobalizationDataverseSolution.ps1. That we need to download.
We go to the Shared Asset Library in LCS:

And we get the Powershell script:
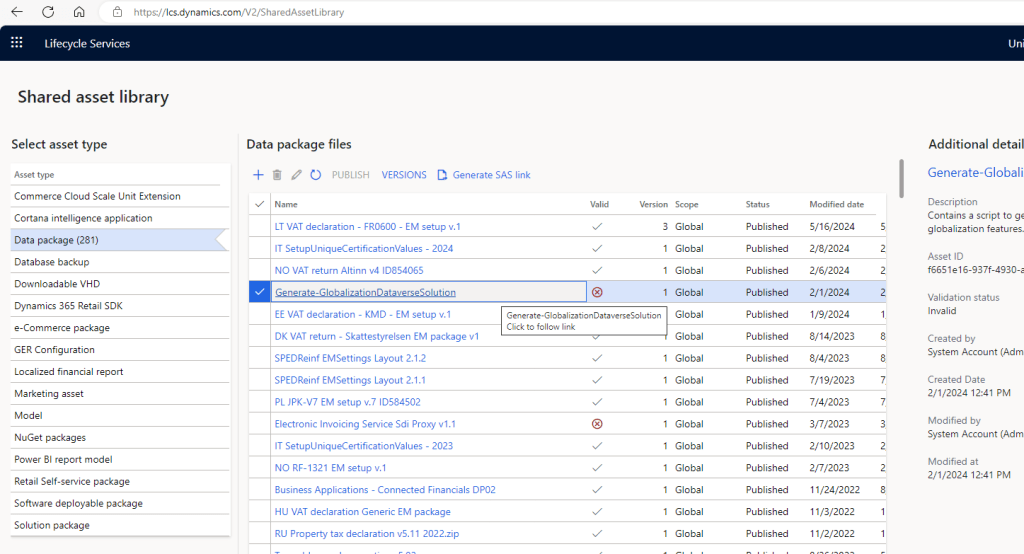
It will be probably downloaded as a zip, it doesn’t matter, we just need the script that’s inside. Important, after extracting it to our desired location, make sure you go to the file properties and check the Unblock box:

Now we go back to VS code and we run the following command:
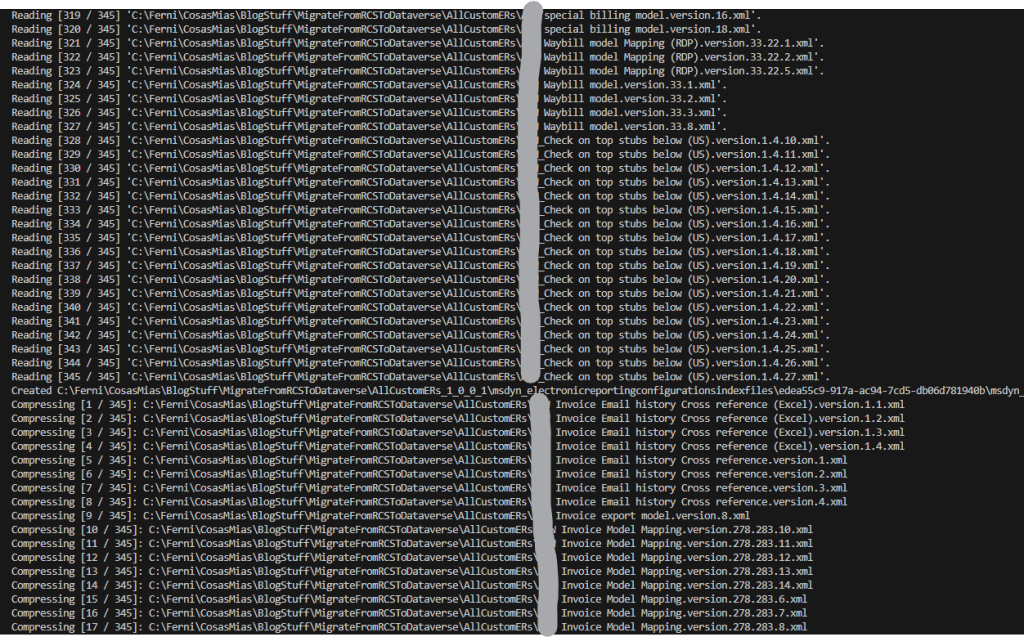
pwsh -ExecutionPolicy RemoteSigned -File C:\Ferni\CosasMias\BlogStuff\MigrateFromRCSToDataverse\Generate-GlobalizationDataverseSolution.ps1 -DvArtifactsSrcFolder C:\Ferni\CosasMias\BlogStuff\MigrateFromRCSToDataverse\AllCustomERs -SolutionFolder C:\Ferni\CosasMias\BlogStuff\MigrateFromRCSToDataverse\AllCustomERs_1_0_0_1 -configurationsIndexRowName "Our custom project name ERs Configurations Index" -featuresIndexRowName "Our custom project name ERs Features Index
Where:
- File: the just downloaded PS from the Shared Asset Library
- DvArtifactsSrcFolder: the folder where we have all our custom ERs that we downloaded previously from git (exported from RCS).
- SolutionFolder: The unzipped Dataverse solution folder
- ConfigurationsIndexRowName: this value is set now for the first time, and you will need to reuse it if you plan to upload more ERs to the same solution in the future
- FeaturesIndexRowName: this value is set now for the first time, and you will need to reuse it if you plan to upload more ERs to the same solution in the future
We are almost there!
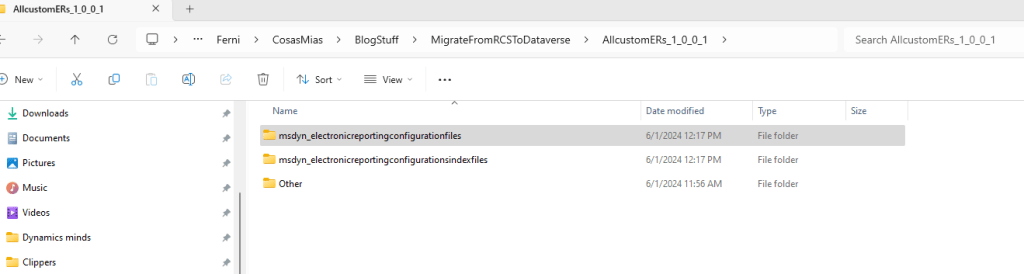
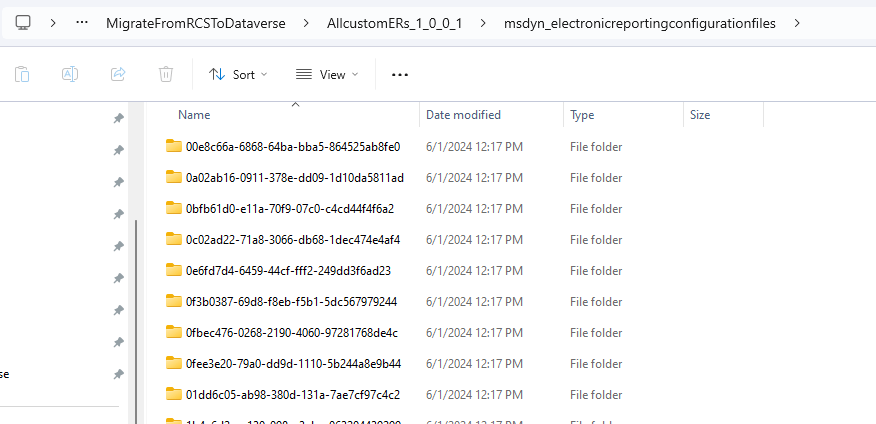
2.4 Compress and upload the solution folder back to Dataverse.
The previous step created the needed folder structure and included the ER files into the Dataverse Solution folder:
Now we are going to pack it again, running another command in the VSCode terminal:
pac solution pack --zipfile C:\Ferni\CosasMias\BlogStuff\MigrateFromRCSToDataverse\AllcustomERs_06_01_2024.zip --folder C:\Ferni\CosasMias\BlogStuff\MigrateFromRCSToDataverse\AllcustomERs_1_0_0_1
Where zipfile is going to be the path and name of the new created packed solution, and folder, the path of the folder where we have our Dataverse Solution folder, with the added ERs.
Here you are the created zip folder with the packed solution:

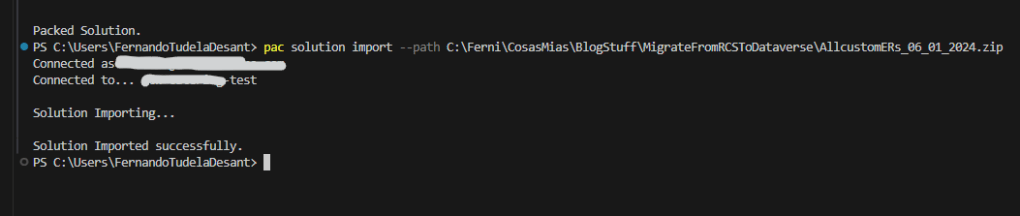
And now, we import the solution back into Dataverse. Remember that we already had created an authentication profile, so I did it using the command:
C:\Ferni\CosasMias\BlogStuff\MigrateFromRCSToDataverse\AllcustomERs_06_01_2024.zip
Final Result
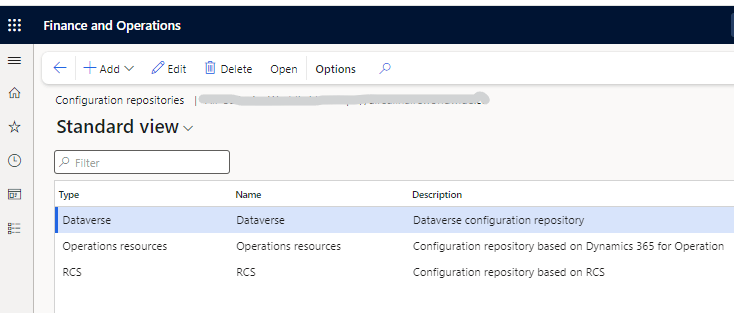
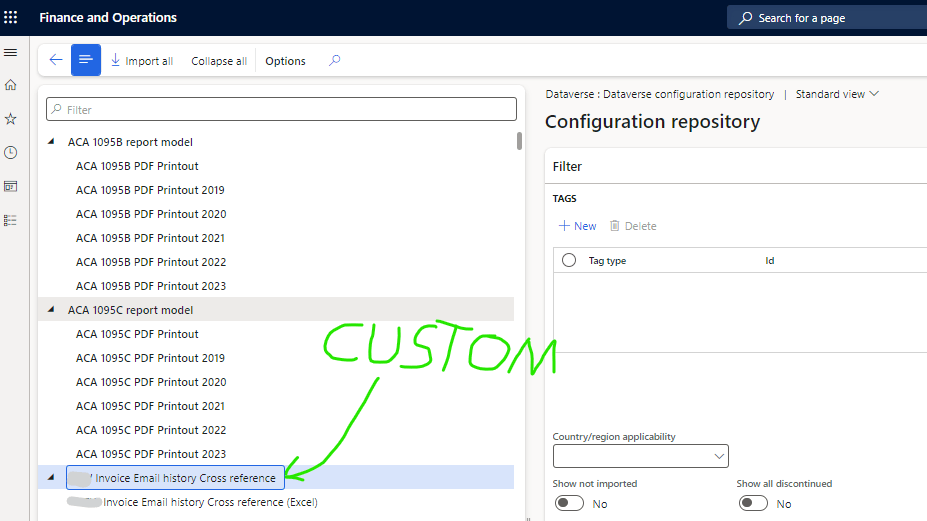
And that’s it! Now we have our custom ERs uploaded to Dataverse. From there they can follow the normal Dataverse ALM cycle, being deployed as a managed solution to UAT and Prod environments. This is how the Solution will look like in Dataverse:

As long as the solution is deployed into the same Dataverse environment as the F&O Environment, now you will be able access them from the F&O UI:
Before closing this post, I want to point that this guide is for a one time migration from RCS to Dataverse, but that it is not a final solution for the lifecycle of new ER developments moving forward. We expect Microsoft to deliver something to replace RCS in that matter. Thanks a lot for reading till here, and I hope you found the post useful.

One thought on “Migrate RCS Electronic Reportings (ER) to Dataverse: Step-by-Step Guide”